Cleaning and Checking Tool Spindle ColletInterval 500 Hours Operating time Component Tool spindle Depth guage Torque wrench for 50 Nm Soft brush PreparationStep 1: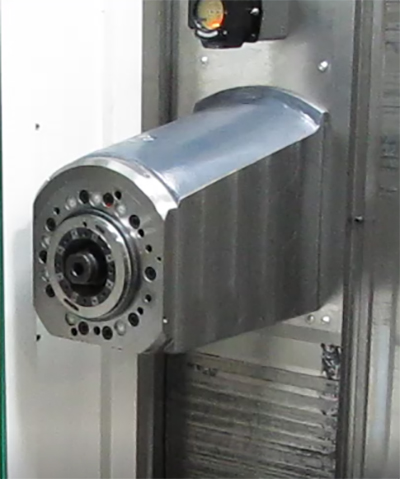
There should be no tool in the tool spindle. Step 2:
The machining unit is positioned such that you can work on the tool spindle without entering the work area.
Step 3:
Motors are switched on. Step 4:
Loading hatch closed. Step 5:
Open collet with individual function. Step 6: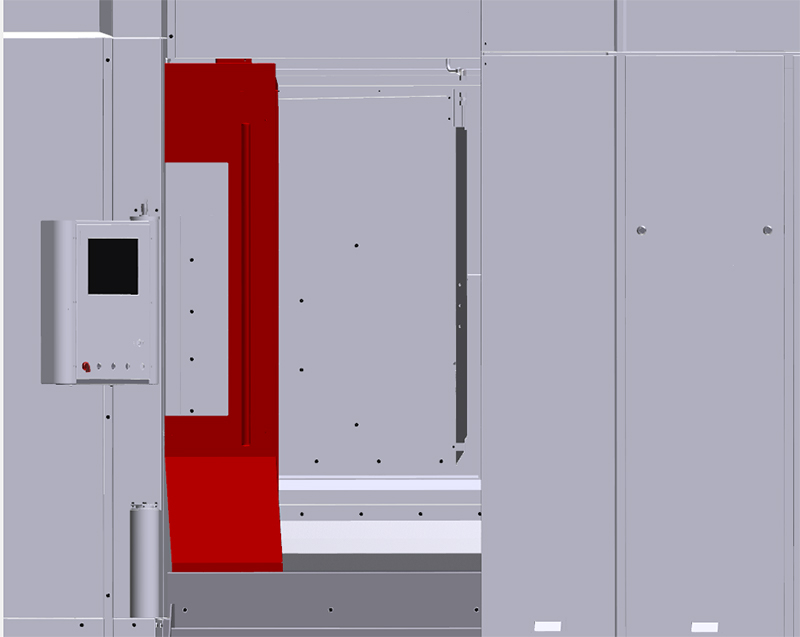
Open work area safety door. Cleaning and Checking Tool Holding FixtureStep 1: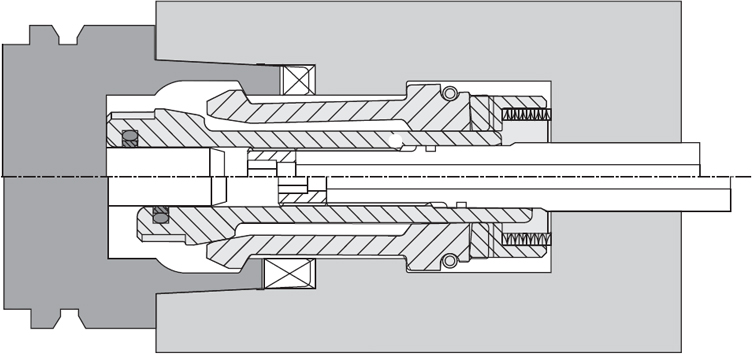
Clean the planar support with a cloth and check for wear and damage, such as scoring and scratches. Step 2:
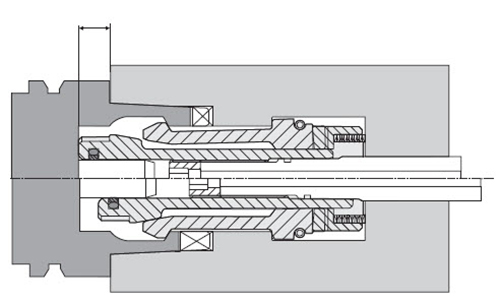
Clean the inside contour of the spindle with a soft brush and check for wear and damage, such as scoring and scratches. Step 3:
If the tool holding fixture is damaged, have the tool spindle replaced by customer services. Do not operate machine with damaged tool holding fixture! Checking ColletProcedure Check collet for wear, damage and sufficient lubrication. Replace worn or damaged collet. Lubricate the dry collet with Moly-Spray 70-82. For procedure see Subsuppliers' Information (ZI) from "Ott-Jakob". Checking Adjustment SettingProcedure Check the adjustment setting of the collet against manufacturer's data and correct if necessary. For manufacturer's documentation on the collet, see Subsuppliers'Information (ZI) from "Ott-Jakob". If the adjustment setting is to great, the collet has worked loose. Tighten collet with 50 Nm. Checking Bar SealProcedure Check condition of the clamping seal. Replace damaged bar seal so that no high-pressure cooling lubricant can penetrate the tool clamping system. For procedure, see: "Replace bar seal" CloseStep 1:Before closing the safety doors, ensure that nobody is behind the guard panels. Close and lock the work area safety door. Step 2:
Close collet with individual functions. Step 3: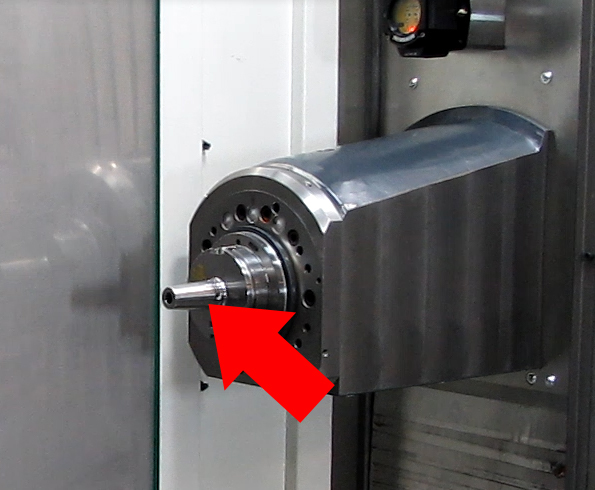
Place a tool in the tool spindle to protect the tool spindle from the ingress of dirt. Step 4: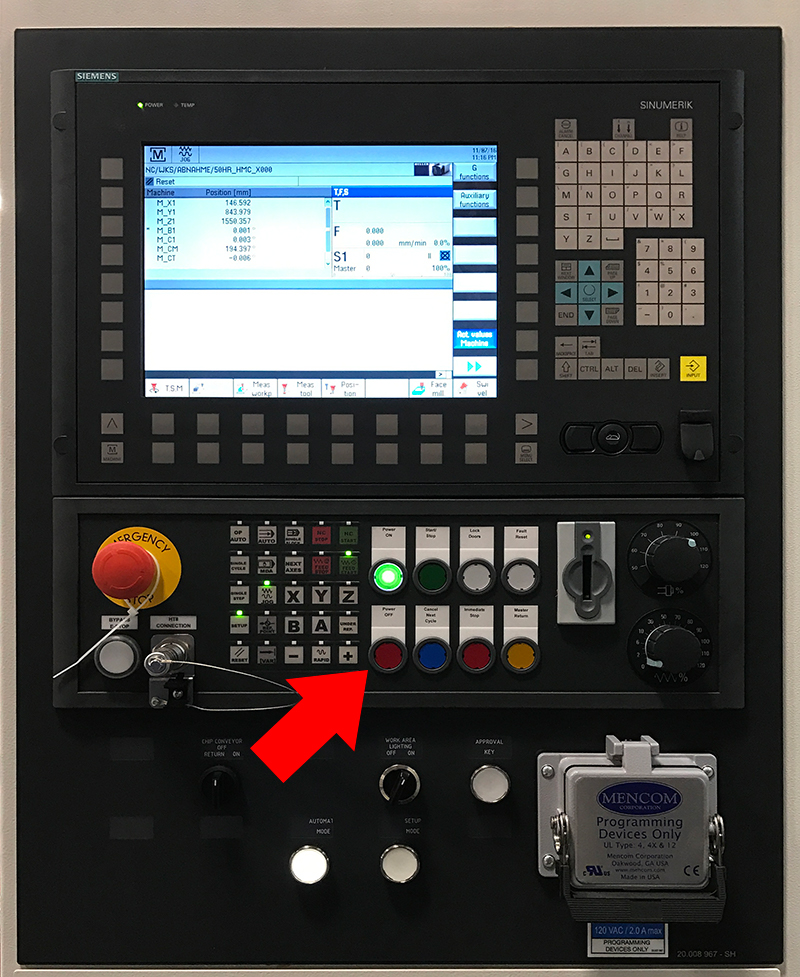
Switch off motors. Replacing the ColletSpare part Collet See wearing and spare parts list (VS) Assembly aid number 786.15090.007.0 by Messrs. Berg (supplied with the collet) Depth gauge Torque wrench for 50 Nm For manufacturer's documentation on the collet, see Subsuppliers' Information (ZI) from "Berg". Step 1:
Collet opened. Step 2:
Work area safety door opened Step 3:
Loading hatch closed. Step 4: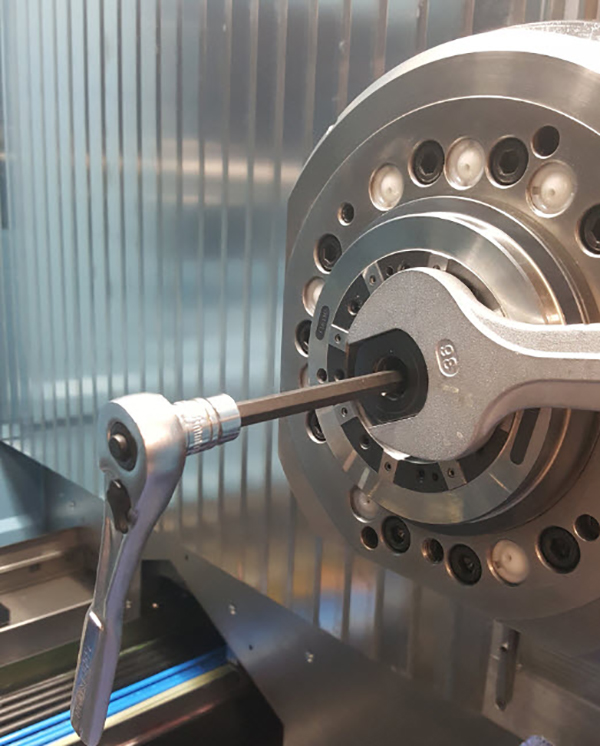
Replace collet according to the installation of Berg and set to adjustment setting. Step 5: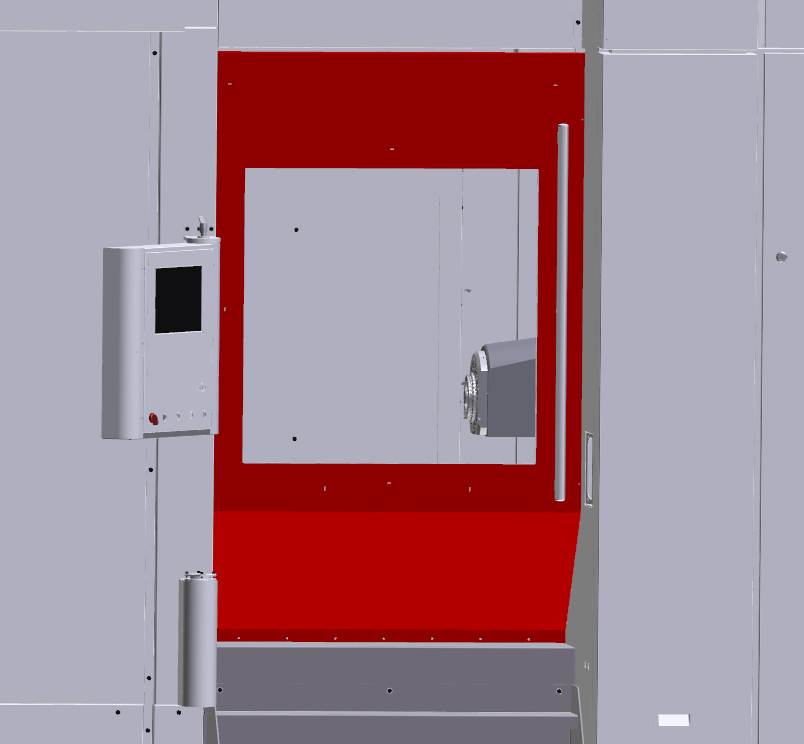
Close and lock the work area safety door. Step 6:
Close collet with individual functions. Step 7:
Place a tool in the tool spindle to protect the tool spindle from the ingress of dirt. Step 8:
Switch off motors. Replace Bar SealSpare Part Bar seal See wearing and spare parts list (VS). A tool with mounted cooling lubricant pipe, Slot-type screwdriver, width 5.5 mm A new bar seal must be calibrated. To do this, you must insert a tool into the collet. The collet features a latch which holds the tool even in the "unclamped" position. The collet engages easily, but it has a high retaining force, so you need al screwdriver as leverage to remove the tool. Step 1:
Remove bar seal from the ring groove carefully using a scribing tool. Step 2:
Oil new bar seal and inset inside the ring groove. Step 3:
Calibrate bar seal:
Step 4:
Remove the tool:
Step 5:Before closing the safety doors, ensure that nobody is behind the guard panels. Close and lock the work area safety door. Step 6:
Close collet with individual functions. Step 7:
Place a tool in the tool spindle to protect the tool spindle from the ingress of dirt. Step 8:
Switch off motors. |